


Achieving a Perfect Lawn with Sod Installation
- zinkservices17

- Nov 24, 2025
- 4 min read
Creating a lush, green lawn can transform any outdoor space into a beautiful and inviting area. Sod installation is one of the fastest and most effective ways to achieve a perfect lawn. Unlike seeding, sod provides an instant green cover, reduces soil erosion, and helps control weeds. However, to get the best results, it is essential to understand the proper sod installation techniques and maintenance practices.
Understanding Sod Installation Techniques for a Healthy Lawn
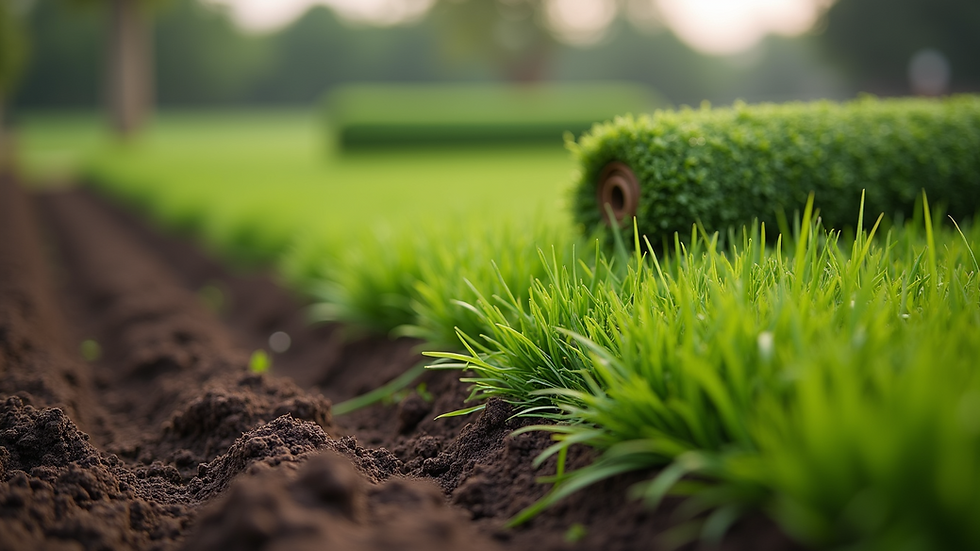
Sod installation is more than just laying down rolls of grass. It requires careful preparation, precise installation, and proper aftercare to ensure the sod roots well and thrives. Here are some key sod installation techniques to follow:
Soil Preparation: Before laying sod, the soil must be properly prepared. This includes removing old grass, weeds, and debris. The soil should be loosened to a depth of about 4-6 inches to allow roots to penetrate easily. Adding organic matter or fertilizer can improve soil quality.
Measuring and Ordering Sod: Measure your lawn area accurately to order the right amount of sod. It’s better to order a little extra to cover any mistakes or irregular areas.
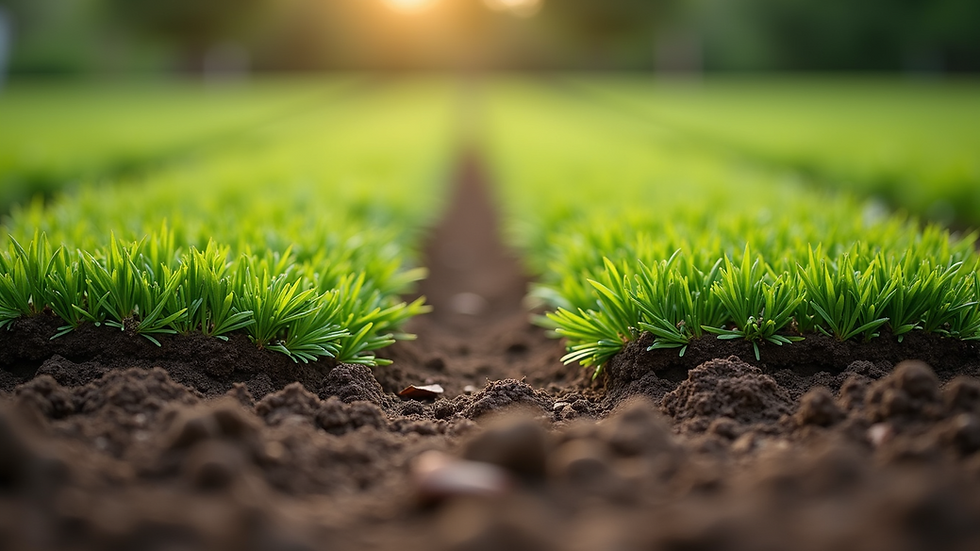
Laying Sod: Start laying sod along a straight edge, such as a driveway or sidewalk. Stagger the seams like bricks to avoid long joints. Press the sod firmly to ensure good contact with the soil.
Watering: Immediately after installation, water the sod thoroughly to moisten the soil beneath. Keep the sod consistently moist for the first two weeks to encourage root growth.
Rolling: Use a lawn roller to press the sod down and remove air pockets. This helps the roots make better contact with the soil.
Following these techniques will help your new lawn establish quickly and look vibrant.
Essential Tips for Maintaining Your New Sod Lawn
Once your sod is installed, proper maintenance is crucial to keep it healthy and green. Here are some practical tips:
Watering Schedule: For the first two weeks, water daily, preferably early in the morning or late in the evening. After the sod has rooted, reduce watering frequency but increase the amount to encourage deep root growth.
Mowing: Wait until the grass reaches about 3 inches in height before the first mow. Use a sharp mower blade and never cut more than one-third of the grass height at a time.
Fertilizing: Apply a balanced fertilizer about 4-6 weeks after installation. Follow the recommended rates to avoid burning the grass.
Weed Control: Avoid using herbicides until the sod is well established, usually after 3 months. Hand-pull any weeds that appear early on.
Aeration: After the first growing season, aerate your lawn to reduce soil compaction and improve water and nutrient absorption.
By following these maintenance tips, your sod lawn will stay healthy and beautiful for years.

What Do Most Landscapers Charge Per Hour?
Understanding the cost of sod installation can help you budget your lawn project effectively. Landscapers typically charge based on the size of the area, the complexity of the job, and the region. Here’s a general breakdown:
Hourly Rates: Most landscapers charge between $50 and $100 per hour for sod installation. This rate may include soil preparation, sod laying, and initial watering.
Flat Rates: Some landscapers offer flat rates per square foot, usually ranging from $1 to $3 per square foot, depending on the type of sod and site conditions.
Additional Costs: Extra charges may apply for removing old grass, grading, or adding soil amendments.
It’s a good idea to get multiple quotes and check references before hiring a landscaper. Also, inquire if the price includes follow-up visits for watering or maintenance advice.
Benefits of Professional Landscape Installation Services
While DIY sod installation is possible, hiring professionals can save time and ensure a higher quality result. Professional landscapers have the experience, tools, and knowledge to handle all aspects of sod installation efficiently. They can also provide advice on the best grass types for your climate and soil.
Professional landscape installation services often include:
Site evaluation and soil testing
Customized lawn design
Proper grading and drainage solutions
Expert sod installation and care instructions
Investing in professional services can increase the longevity and beauty of your lawn, making it a worthwhile expense.

Long-Term Care for a Thriving Sod Lawn
To keep your sod lawn looking perfect over time, ongoing care is essential. Here are some long-term strategies:
Seasonal Fertilization: Apply fertilizer in spring and fall to support growth and recovery.
Pest and Disease Management: Monitor your lawn regularly for signs of pests or diseases. Early detection and treatment prevent major damage.
Proper Irrigation: Adjust watering based on weather conditions. Avoid overwatering, which can lead to fungal problems.
Soil Testing: Conduct soil tests every few years to check nutrient levels and pH balance. Amend soil as needed.
Renovation: Over time, some areas may thin out. Patch these spots with fresh sod or overseed to maintain uniformity.
By committing to these care practices, your sod lawn will remain a vibrant and enjoyable outdoor space.
Achieving a perfect lawn with sod installation is a rewarding project that enhances your home’s curb appeal and outdoor living experience. With the right techniques, maintenance, and possibly professional help, you can enjoy a lush, green lawn year-round.


Comments