


Master the Art of Professional Sod Installation
- zinkservices17

- Nov 24, 2025
- 3 min read
Installing sod is one of the fastest ways to transform your outdoor space into a lush, green lawn. Whether you are renovating your yard or starting fresh, mastering the art of sod installation can save you time, money, and frustration. This sod installation guide will walk you through every step, from preparation to maintenance, ensuring your lawn looks vibrant and healthy for years to come.
Understanding the Basics: Sod Installation Guide
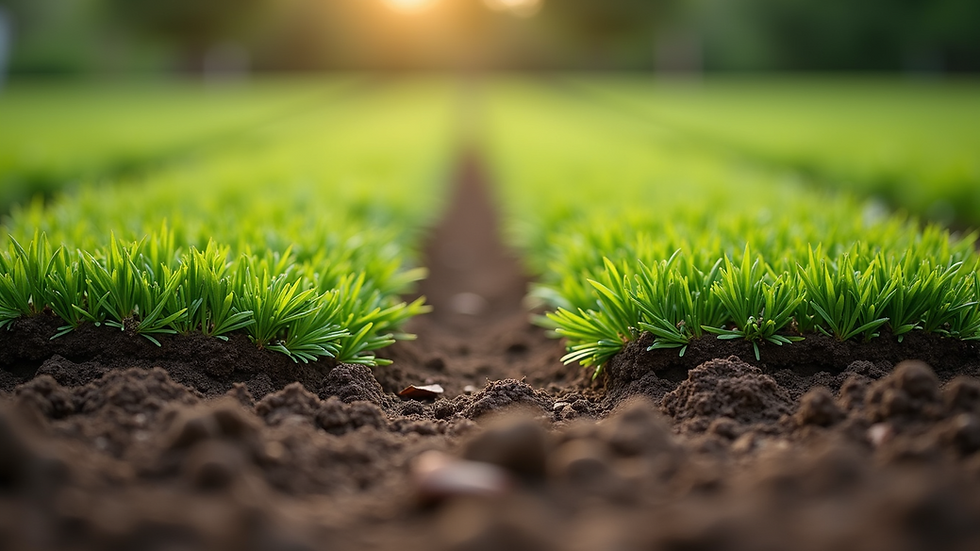
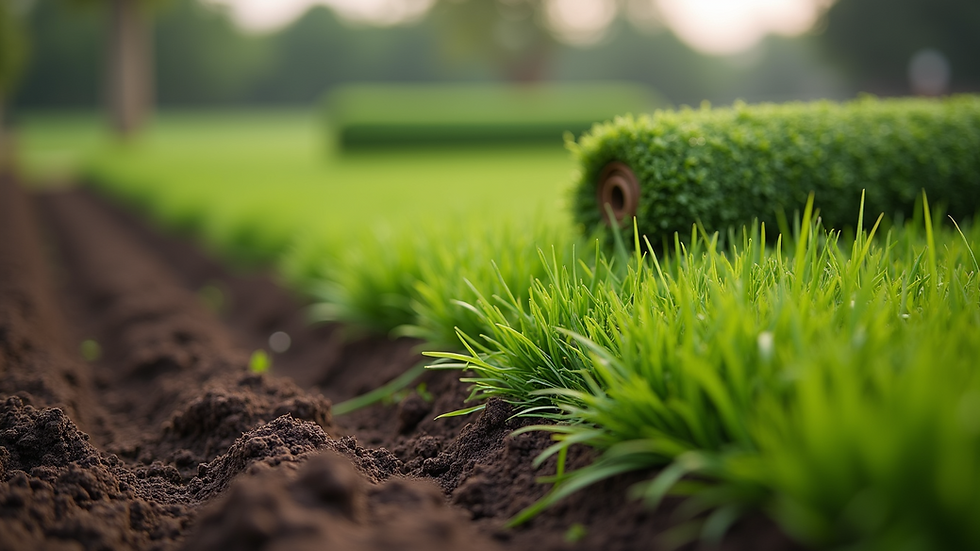
Before you roll out your first piece of sod, it’s important to understand what sod is and why it’s a great choice for your lawn. Sod is pre-grown grass that is harvested in strips with a layer of soil underneath. It provides instant greenery and helps prevent soil erosion.
Why Choose Sod Over Seeding?
Instant results: Sod gives you a full lawn immediately.
Erosion control: The soil layer helps hold your ground in place.
Weed reduction: Sod is usually weed-free, unlike seed.
Less watering: Sod requires less water initially compared to seed.
Essential Tools and Materials
To get started, gather the following:
Sod rolls
Lawn roller
Garden rake
Shovel
Hose or sprinkler system
Fertilizer
Soil test kit
Having the right tools will make the process smoother and more efficient.
Preparing Your Lawn for Sod Installation
Proper preparation is the foundation of a successful sod installation. Skipping this step can lead to poor root growth and patchy grass.
Step 1: Clear the Area
Remove any old grass, weeds, rocks, and debris. Use a shovel or sod cutter to clear the area down to bare soil.
Step 2: Test and Amend the Soil
Use a soil test kit to check pH and nutrient levels. Most grasses prefer a pH between 6.0 and 7.5. Based on the results, add lime or sulfur to adjust pH and incorporate organic matter or fertilizer to enrich the soil.
Step 3: Grade the Soil
Ensure the soil slopes away from buildings to prevent water pooling. Use a rake to level the surface and break up clumps.
Step 4: Water the Soil
Lightly moisten the soil before laying sod. This helps the roots establish quickly.
Step-by-Step Sod Installation Process
Now that your soil is ready, it’s time to install the sod. Follow these steps carefully for the best results.
Step 1: Lay the First Row
Start along a straight edge such as a driveway or sidewalk. Lay the sod strips tightly together without overlapping. Stagger the seams like bricks to avoid long joints.
Step 2: Continue Laying Sod
Work your way across the lawn, keeping the sod pieces snug. Use a sharp knife to cut pieces to fit around curves or obstacles.
Step 3: Roll the Lawn
After laying all the sod, use a lawn roller to press the sod firmly into the soil. This removes air pockets and improves root contact.
Step 4: Water Immediately
Water the sod thoroughly right after installation. The goal is to keep the sod and soil moist but not soggy.
Step 5: Maintain Moisture
For the first two weeks, water daily or as needed to keep the sod moist. Gradually reduce watering frequency as roots establish.

Tips for Long-Term Sod Care and Maintenance
Proper care after installation is crucial to ensure your sod thrives.
Fertilizing
Apply a starter fertilizer high in phosphorus to encourage root growth. Follow up with balanced fertilizer every 6-8 weeks during the growing season.
Mowing
Wait until the grass reaches about 3 inches tall before the first mow. Set your mower blade high to avoid stressing the new grass.
Weed Control
Avoid using herbicides for at least 6 weeks after installation. Hand-pull any weeds that appear.
Pest and Disease Management
Keep an eye out for signs of pests or diseases. Early detection and treatment will protect your lawn.
Enhancing Your Outdoor Space with Professional Landscape Installation
For those looking to elevate their lawn beyond just sod, professional landscape installation services can integrate your new sod with other elements like flower beds, walkways, and irrigation systems. This holistic approach ensures your outdoor space is both beautiful and functional.
Final Steps to a Beautiful Lawn
Mastering sod installation is about attention to detail and consistent care. By following this guide, you can enjoy a lush, green lawn that enhances your home’s curb appeal and provides a relaxing outdoor space.
Remember, patience is key. Sod takes time to root and grow strong. With proper preparation, installation, and maintenance, your lawn will flourish and become the envy of your neighborhood.


Comments