


Boost Your Lawn with Expert Sod Installation
- zinkservices17

- Sep 15
- 4 min read
A lush, green lawn can transform your outdoor space, making it inviting and beautiful. If you want to achieve a healthy, vibrant lawn quickly, sod installation is an excellent choice. Unlike seeding, sod provides instant grass coverage and reduces weed growth. However, to get the best results, you need to follow expert sod installation tips. This guide will walk you through everything you need to know to boost your lawn with professional sod installation.
Understanding the Basics of Sod Installation Tips
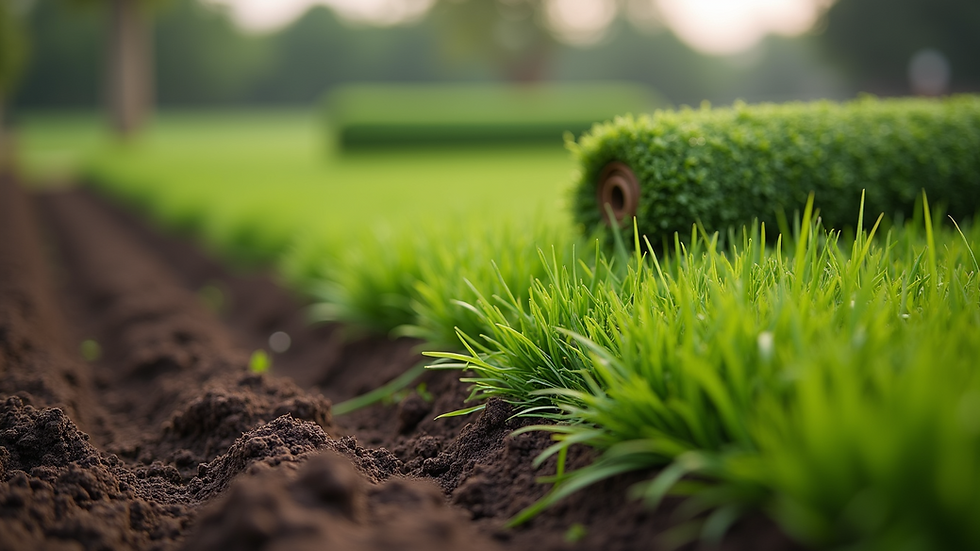
Before you start laying sod, it’s important to understand the basics. Sod is pre-grown grass that comes in rolls or slabs, ready to be installed on your prepared soil. The key to successful sod installation is preparation and timing.
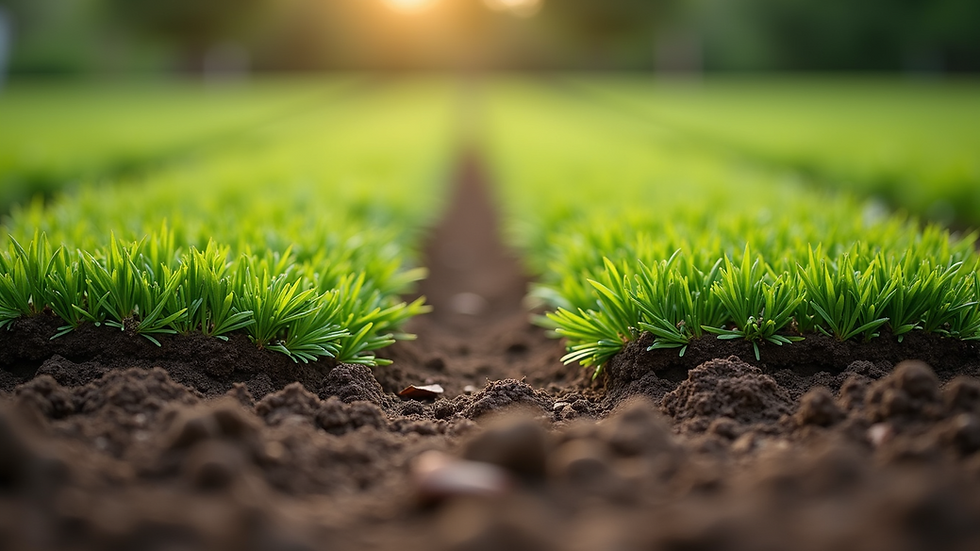
Soil Preparation: Remove any old grass, weeds, and debris. Loosen the soil to a depth of about 4-6 inches. This helps roots penetrate easily.
Soil Testing: Test your soil’s pH and nutrient levels. Most grasses prefer a pH between 6.0 and 7.5. Amend the soil with lime or sulfur if needed.
Leveling: Make sure the soil surface is smooth and even to avoid water pooling.
Watering: Water the soil lightly before laying sod to create a moist base.
Proper preparation ensures the sod roots can establish quickly and your lawn will thrive.

Essential Sod Installation Tips for a Healthy Lawn
When it comes to sod installation, following expert tips can make a big difference in the outcome. Here are some essential tips to keep in mind:
Choose the Right Sod Type
Select a grass type that suits your climate and soil conditions. For example, cool-season grasses like Kentucky bluegrass work well in northern regions, while warm-season grasses like Bermuda thrive in southern areas.
Install Sod Quickly
Sod should be installed within 24-48 hours of delivery to prevent drying out. Keep the sod moist and shaded if you need to delay installation.
Lay Sod in a Staggered Pattern
Lay the sod pieces like bricks, staggering the seams to avoid long joints. This pattern helps the sod knit together and prevents erosion.
Roll the Sod After Installation
Use a lawn roller to press the sod firmly against the soil. This removes air pockets and improves root contact.
Water Immediately and Consistently
Water the sod thoroughly right after installation. For the first two weeks, keep the sod moist by watering daily or twice daily, depending on weather conditions.
Avoid Heavy Traffic
Limit foot traffic on the new sod for at least three weeks to allow roots to establish.
Following these tips will help your new lawn grow strong and healthy.

Common Mistakes to Avoid During Sod Installation
Even with the best intentions, mistakes can happen during sod installation. Avoid these common pitfalls to ensure your lawn looks great:
Skipping Soil Preparation
Installing sod on compacted or poor soil leads to weak root growth and patchy grass.
Not Watering Enough
Sod needs consistent moisture to establish roots. Underwatering can cause the sod to dry out and die.
Laying Sod on Uneven Ground
Uneven soil causes water to pool in low spots, leading to root rot and disease.
Overlapping Sod Pieces
Overlapping sod can cause uneven growth and create bumps in your lawn.
Ignoring Weeds
Weeds compete with sod for nutrients and water. Remove weeds before installation.
By avoiding these mistakes, you’ll save time and money on repairs later.
How Professional Landscape Installation Enhances Your Lawn
For the best results, consider hiring professionals for your landscape installation. Experts bring experience and specialized equipment that can make a big difference in your lawn’s health and appearance.
Expert Soil Analysis and Preparation
Professionals test and amend soil to create the perfect growing environment.
Proper Sod Selection
They help you choose the right grass type for your region and lawn conditions.
Efficient Installation
Pros install sod quickly and correctly, reducing the risk of damage.
Post-Installation Care
Many services include follow-up care instructions or maintenance to keep your lawn thriving.
Investing in professional landscape installation can save you time and ensure your lawn looks its best year-round.

Maintaining Your New Sod Lawn for Long-Term Success
Once your sod is installed, proper maintenance is key to keeping your lawn healthy and green. Here are some maintenance tips:
Watering Schedule
After the initial two weeks of frequent watering, reduce to 1-2 times per week, providing about 1 inch of water each time.
Mowing
Wait until the grass reaches 3-4 inches before the first mow. Use a sharp mower blade and never cut more than one-third of the grass height at once.
Fertilizing
Apply a balanced fertilizer 4-6 weeks after installation to promote growth.
Weed Control
Use pre-emergent herbicides to prevent weeds, but avoid applying them immediately after sod installation.
Aeration
Aerate your lawn annually to reduce soil compaction and improve root growth.
By following these maintenance tips, your sod lawn will stay lush and healthy for years.
With these expert sod installation tips, you can transform your outdoor space into a beautiful, green oasis. Whether you choose to do it yourself or hire professionals, proper preparation, installation, and maintenance are essential. For expert help, consider professional landscape installation services to ensure your lawn looks its best from day one.

Comments