


Discover the Essentials of Sod Installation
- zinkservices17

- Nov 20
- 4 min read
Installing sod is one of the fastest ways to achieve a lush, green lawn. Whether you are starting a new yard or repairing a patchy one, sod installation offers immediate results and long-term benefits. This guide will walk you through everything you need to know about sod installation, from preparation to maintenance, ensuring your lawn looks healthy and vibrant.
Sod Installation Guide: Step-by-Step Process
Sod installation might seem straightforward, but proper preparation and technique are crucial for success. Here’s a detailed guide to help you install sod effectively:
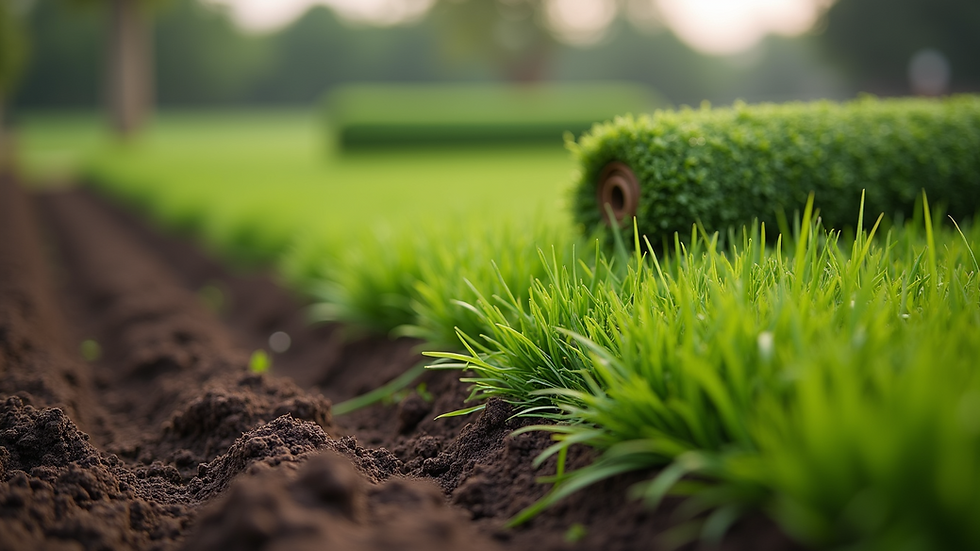
Prepare the Soil
Start by removing any old grass, weeds, rocks, and debris. Use a rototiller to loosen the soil to a depth of about 4-6 inches. This helps roots penetrate easily. Next, level the soil and add a layer of topsoil if necessary. Test the soil pH and adjust it to between 6.0 and 7.5 for optimal grass growth.
Choose the Right Sod
Select sod that matches your climate and soil type. Common varieties include Kentucky bluegrass, Bermuda grass, and fescue. Make sure the sod is fresh and moist when you purchase it.
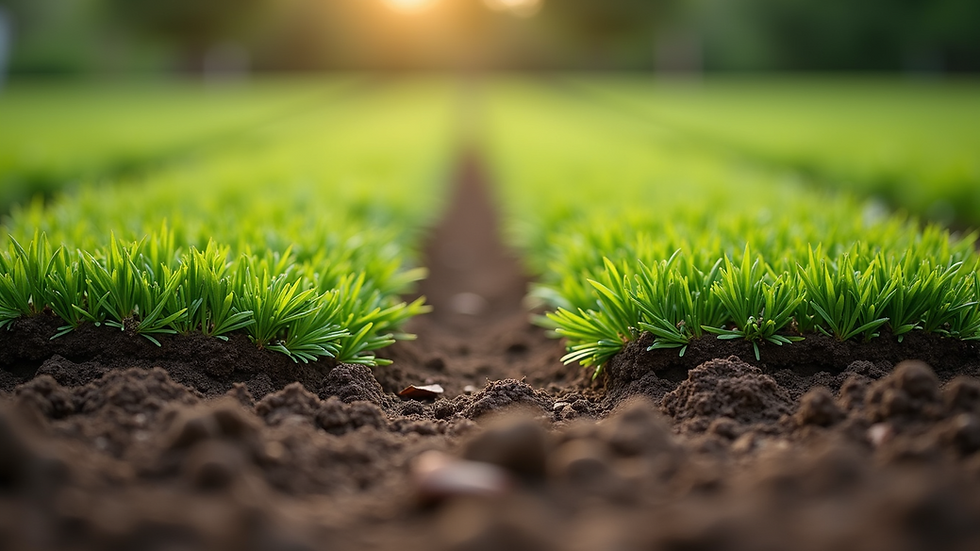
Lay the Sod
Begin laying sod along a straight edge, such as a driveway or sidewalk. Stagger the seams like bricks to avoid long joints. Press the sod firmly into the soil to eliminate air pockets. Use a roller to ensure good contact between the sod and soil.
Water Immediately
Water the sod thoroughly right after installation. The goal is to keep the sod and soil moist but not waterlogged. For the first two weeks, water daily or as needed to prevent drying out.
Ongoing Care
Avoid heavy foot traffic for the first few weeks. Mow the grass once it reaches about 3 inches tall, but never cut more than one-third of the blade length at a time. Fertilize after 4-6 weeks to promote healthy growth.

Benefits of Sod Installation Over Seeding
Choosing sod over seeding has several advantages that make it a popular choice for homeowners and landscapers:
Instant Lawn: Sod provides an immediate green lawn, unlike seeds that take weeks to germinate.
Erosion Control: Sod stabilizes soil quickly, reducing erosion on slopes or newly graded areas.
Weed Reduction: A thick sod layer suppresses weed growth better than bare soil.
Less Watering: Sod requires less frequent watering initially compared to seeds.
Uniform Appearance: Sod offers a consistent look without patchy spots common in seeded lawns.
However, sod can be more expensive upfront and requires proper soil preparation to ensure it roots well. For those looking for a quick transformation, sod installation is the best option.
What is landscaping installation?
Landscaping installation involves the process of transforming outdoor spaces by adding plants, trees, hardscapes, and turf to create an aesthetically pleasing and functional environment. This includes everything from planting flower beds to installing irrigation systems and laying sod.
Sod installation is a key part of landscaping installation, providing the foundation of a healthy lawn. Proper landscaping installation requires planning, knowledge of plant species, soil conditions, and climate considerations to ensure long-lasting results.
Professional landscapers often combine sod installation with other elements like mulch, shrubs, and garden paths to enhance curb appeal and outdoor living spaces.

Tips for Maintaining Your New Sod Lawn
Once your sod is installed, maintaining it properly is essential to ensure it thrives. Here are some practical tips:
Watering Schedule: For the first two weeks, water daily to keep the sod moist. After that, reduce watering frequency but increase the amount to encourage deep root growth.
Mowing: Wait until the grass reaches 3 inches before the first mow. Use a sharp mower blade and avoid cutting more than one-third of the grass height.
Fertilizing: Apply a starter fertilizer when laying sod and follow up with a balanced fertilizer 4-6 weeks later.
Weed Control: Avoid using herbicides until the sod is well established, usually after 3 months.
Aeration: Aerate your lawn annually to reduce soil compaction and improve water and nutrient absorption.
Pest Monitoring: Keep an eye out for pests and diseases. Early detection helps prevent major damage.
By following these tips, your sod lawn will develop strong roots and maintain its lush appearance for years.
When to Consider Professional Sod Installation Services
While DIY sod installation is possible, hiring professionals can save time and ensure the best results, especially for larger or complex projects. Professional services offer:
Expert Soil Preparation: Proper grading, soil testing, and amendments.
Efficient Installation: Quick and precise laying of sod to minimize drying out.
Access to Quality Sod: Professionals often have access to premium sod varieties.
Post-Installation Care: Guidance on watering, fertilizing, and maintenance.
Integrated Services: Combining sod with other landscaping elements for a cohesive look.
If you want a hassle-free experience and a guaranteed beautiful lawn, consider contacting a company specializing in landscape installation.
By understanding the essentials of sod installation, you can create a vibrant, healthy lawn that enhances your outdoor space. Whether you choose to do it yourself or hire professionals, following these guidelines will help you achieve the best results.

Comments